
My last couple of posts have been pretty "word-y" with not a lot of pictures of fun projects.
Be prepared.
This one is different.
I'm about to dump a bunch of pictures through the screen and on to your lap!
I hope you enjoy the journey.
We start our little pictorial skip through time wayyyy back in last fall when my studio-to-be looked like this:

My oh my...it seems like forever ago!
After week after week of hard labor, demolition and rebuilding, we went through these stages:


I decided to do a plywood floor with a vision in my head of doing something fun with the plywood. There are a lot of really great pictures online of amazing floors done with
plain ol' plywood! Who'da thunk?!
Rather than laying down the 4x8 panels I had the nice young man at the lumber yard cut them in half, giving me 4'x4' squares. They were much easier to handle, and I thought it would look better anyway. I just screwed them down right to the wafer board (which was glued and nailed to the existing 2'x6' plank floor) I alternated the way the grain went, just 'cuz I'm like that.

Next started the fun part! I raided my stockpile of odds and ends stain, and paint and went to work.
I have a picture of one of my favorite stains, love it.
As for the other squares, sorry, I was too wrapped up in the process to stop to take pictures, but I used Annie Sloan chalk paint, and a couple of other odd cans of this and that I had.


I got all of the solid colors down and once again skipped the ever important progression photo and went right on to the next step. When doing something as busy as this I feel that there needs to be something to tie it all in together. I decided to stain over all of them with the same stain so that they would all have a common hue to them. Some of them I applied the stain all over and then wiped it off, others I just "skipped" the brush lightly over the surface while it was filled with stain to create a little more variance. I love how it turned out!

My beat up stairs got a good coat of stain.
Have to say I have a little crush on my stairs.
I think they are cute.
Yes, I'm not normal.
I know this.
Stairs before:

This is the stain I used over everything, as well as my stairs:


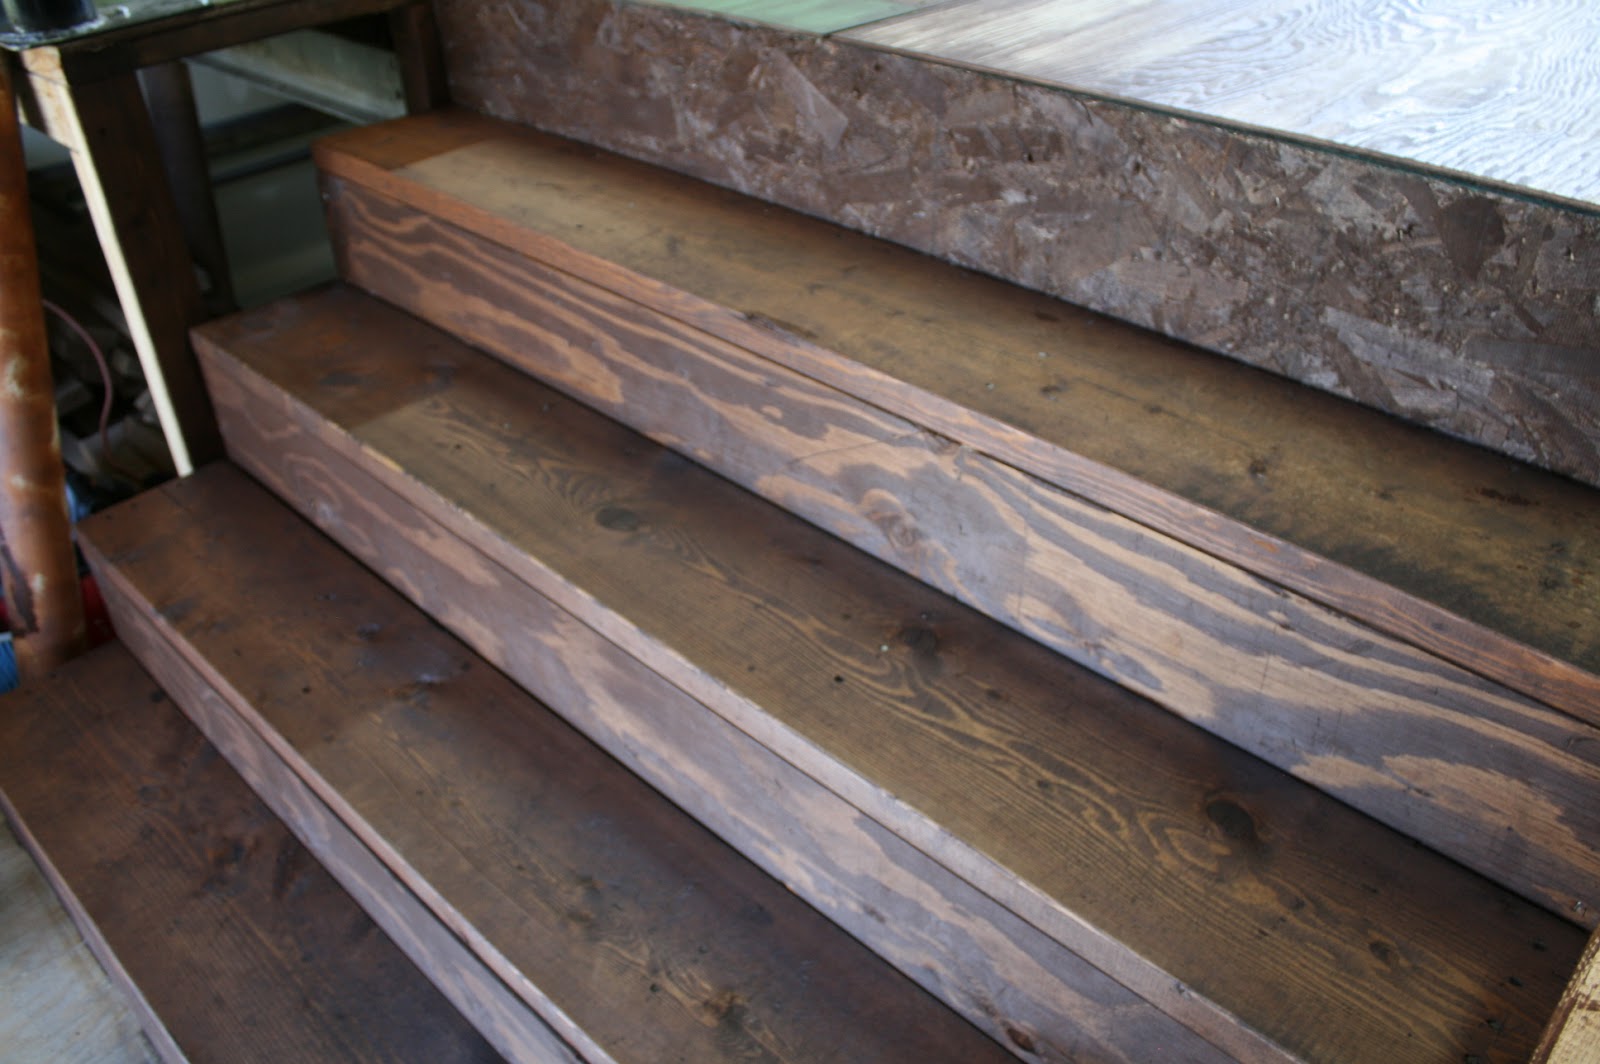
Love the rustic look of the stairs up close:
It wasn't hard to make them look rustic, they've been through a lot in the last few months, no need to bang them up, the construction zone did that for me!


One last look at the floor:

Pretty busy I know, but it's just a little reflection of me!
I mean, why do something simple when you can make a lot of work for yourself and complicate things a whole bunch?! Besides, who can decide between just one finish when there is soooo many choices? Might as well do them all, RIGHT?
You know what they say:
"You can tell a lot about a person by the finish on their floors."
What?
No one's ever said that?
Well, maybe they should have.
Alright. Although the squares with Annie Sloan Chalk paint don't need to be sealed, the others definitely do, sooo...
I'm off to put a few good coats of sealer on it before I can say it's done!
What do you think?
Not sure I'd do this in my house, but not bad for an art studio right?
That looks soooo good!
ReplyDeleteThanks Jessica :)
ReplyDeleteApril,
ReplyDeleteYour studio is looking amazing! The plywood floor is spectacular! Your talent is inspiring!
Thanks so much Meg! You are always so supportive! I sure appreciate you!
ReplyDeleteI love it!!!
ReplyDeleteOh my word! I got on Pinterest to see if anyone had ever done this before. Am getting ready to lay flooring in an upstairs room and will need to use 4x4 plywood sheets cause it’s the only way to get them upstairs. I love this! This is very close to what I was picturing!!!
ReplyDelete