Showing posts with label remodeling. Show all posts

Wednesday, August 8, 2012

Craft room re-moved!

A while ago I showed you what I did in my scrapbook/craft room in this post. Wellll turns out we need the extra bedroom for a friend who needs somewhere to live. That means I needed to get creative with other spaces in my home to move my scrapbook area to. Right outside the extra bedroom is this rather large hallway, but more of a nook area...


The cabinet was storing linnens for the downstairs bedrooms, but after cleaning out my upstairs linnen closet, there was tons of room up there for that stuff. Poor kids are going to have to walk allll the way up stairs to get clean sheets. I think they will be ok. 
Thanks for the concern.

So I knew that I had almost no money to spend on this little project. I did have a little birthday money left, all tucked away for just this type of decorating emergency. After a trip to the ReStore, I was soo happy with the $42 I spent on all of this:


It took me a while at the store to make a plan, but once I figured it out...
shabammm!

See these pretty ugly particle board bookshelves?

Well with a couple of my favorite friends:

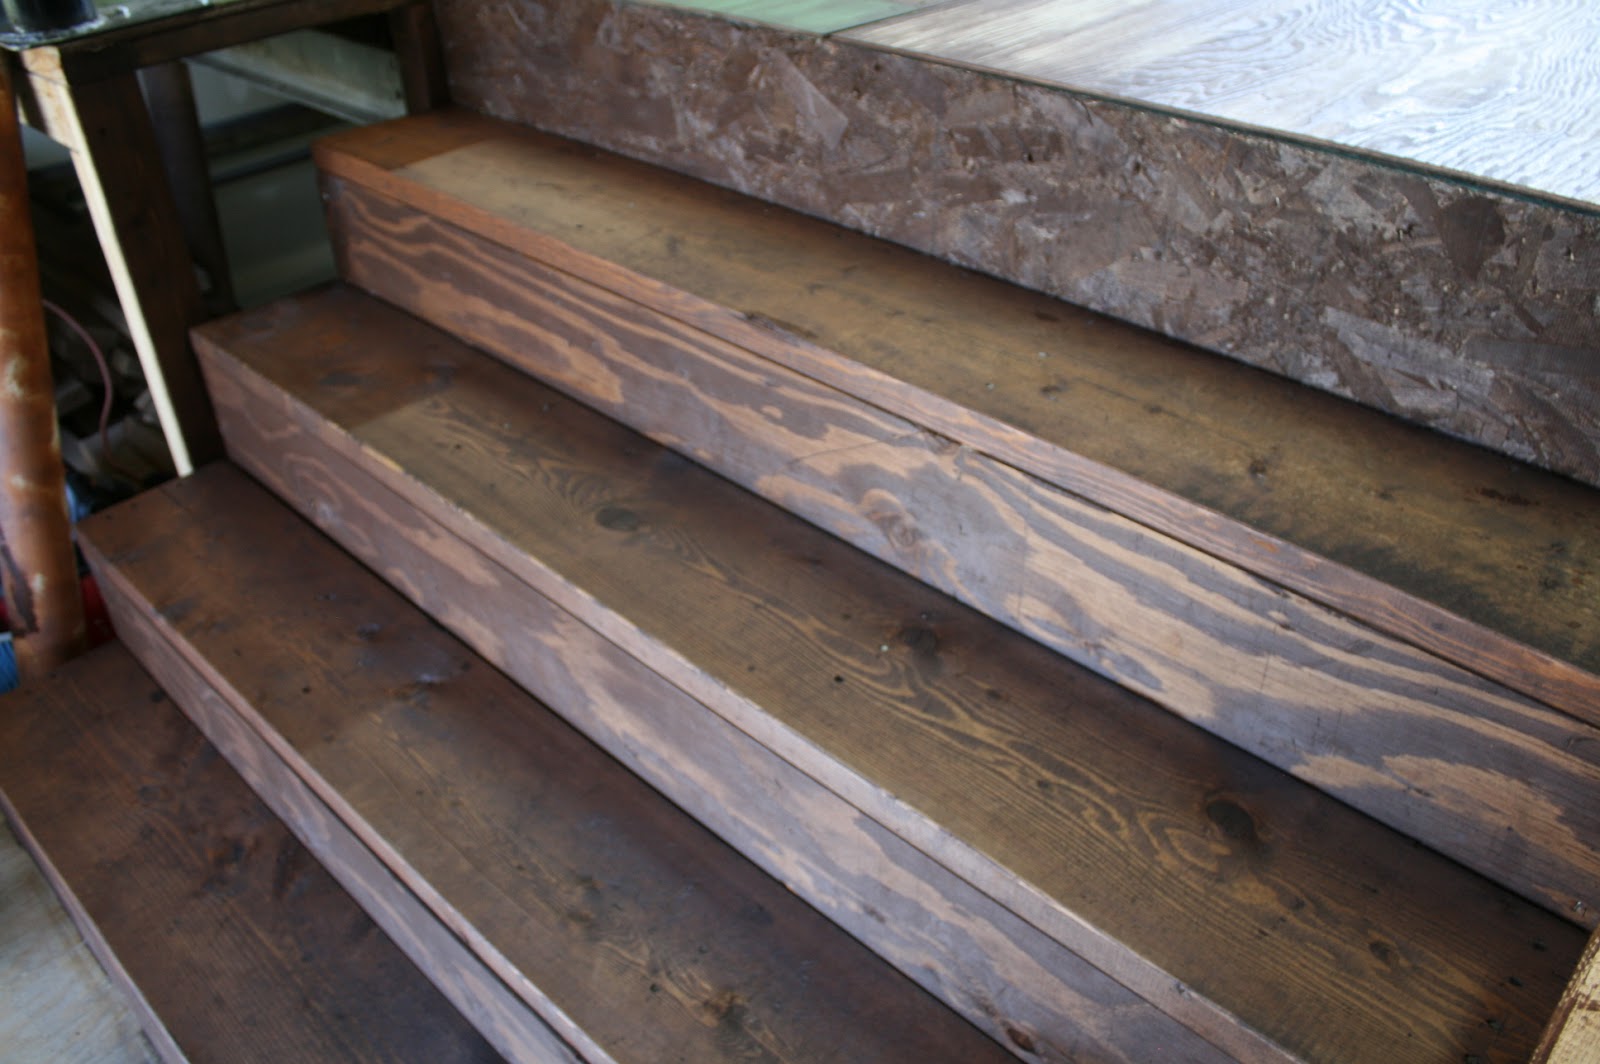
Old barnwood from my barn

Trusty Chopsaw

And good ol' air compressor

I measured, and cut, and nailed, and cut some more, 
and broke a nail!

Danggettt!!

After I got over my nail breakage, I stood back and this is what I had made...


I cut the two bookshelves in half, and put them one in front of the other to give it more depth. I then nailed the barnwood to the sides which served to hold the two bookshelves together nicely. Finally I trimmed out the front with some narrower barnwood I had. The wood counter-top was $4.00. Yes, that is four dollars! When my money tree has finished blooming I will do one of my counter top finishes on it and it will be spectacular!! You have to look into the future a little with me sometimes, cuz it all cain't happen at once ya know!

I moved one of my shelving units out of the scrapbook room and hung it, but then I've been a sicky-poo and don't have the strength to hang the other one yet. You'll have to wait a bit to see pictures of that. More to come on this project for sure! Just gotta get feeling better so I can do the fun stuff and not this computer sitting around stuff! 

So I know it's still a little rough, but what do ya think so far??


Too rustic for you? 

Just wait and see what's next!

 Can't wait to show y'all!


Wednesday, April 25, 2012

Rusty, Old, Chalk Paint Bathroom Break! Who's coming?

I showed you my floor, now for another fun project in my studio that's finally finished up!
Once upon a time I imagined a bathroom in the right hand 
corner of the studio, see the pipes sticking up?...

After the plumbing was in and the barn enclosed, we thought some walls might be nice.

I walked you through my distressed floor in this post

I was finally able to get the stain and sealer on the floor, now it looks like this:


I'm pretty durn happy about how it turned out! I love old wood floors! This is as close as I'm gonna get! 

Now to show you what I really wanted to show you...
After the sheetrock was installed, I took some of the tin scraps from the outside of the barn and nailed  'em up to the outside walls of the bathroom...

Next I used a smattering of Modern Masters Metal Effects (our local hardware store has been selling it at 50% off, sadly I think they are clearing their inventory and won't be selling it anymore), mostly the Iron, but a little copper and bronze also...

After painting the whole thing and letting it dry completely, I sprayed Modern Masters rust activator fairly generously randomly and with a few spritz of blue patina spray as well. For the spray to activate you need to let it dry totally. After the first layer was dry I repeated it 2 more times which really allows the activator to do it's job and deepens the rust color. I finished it off with a water based clear coat and some old barn wood to trim the door. 


Oh, the door. That would be another chalk paint project, definately didn't want to mess with priming and painting with latex. 

Started with a random mess of blue and green. 
I know it doesn't look like it, but I had a plan.

This was obviously followed by a nice coat of red. I left areas of the blue and green peek through the red. I then sanded a few areas to show even more of the underlying colors as well as sanding down to the bare wood. A nice coat of wax (dark in the corners and crevices, with clear everywhere) and this is what I have now...

Up close detail, sorry it's a little blurry, just squint your eyes tiny and it clears right up!
Maybe not...

So there you have it.
My bathroom is now ready for the "essentials" to be installed.
I will be really "relieved" when that is done.
What?
I had to sneak in a little potty humor, I just had to.

What d'ya think?


I'd love to hear your thoughts!
It makes my day when you take the time to comment,
and if you aren't a follower yet join the fun! I love a party!!

Next project... 
bathroom counter and chalk paint vanity... 
stay tuned!!


I'm just "floored" over this one! Plywood floors!

My last couple of posts have been pretty "word-y" with not a lot of pictures of fun projects.
Be prepared.
This one is different.
I'm about to dump a bunch of pictures through the screen and on to your lap!
I hope you enjoy the journey.


We start our little pictorial skip through time wayyyy back in last fall when my studio-to-be looked like this:


My oh my...it seems like forever ago! 
After week after week of hard labor, demolition and rebuilding, we went through these stages: 

I decided to do a plywood floor with a vision in my head of doing something fun with the plywood. There are a lot of really great pictures online of amazing floors done with 
plain ol' plywood! Who'da thunk?!
 Rather than laying down the 4x8 panels I had the nice young man at the lumber yard cut them in half, giving me 4'x4' squares. They were much easier to handle, and I thought it would look better anyway. I just screwed them down right to the wafer board (which was  glued and nailed to the existing 2'x6' plank floor) I alternated the way the grain went, just 'cuz I'm like that.

Next started the fun part! I raided my stockpile of odds and ends stain, and paint and went to work.
I have a picture of one of my favorite stains, love it.
As for the other squares, sorry, I was too wrapped up in the process to stop to take pictures, but I used Annie Sloan chalk paint, and a couple of other odd cans of this and that I had. 


I got all of the solid colors down and once again skipped the ever important progression photo and went right on to the next step. When doing something as busy as this I feel that there needs to be something to tie it all in together. I decided to stain over all of them with the same stain so that they would all have a common hue to them. Some of them I applied the stain all over and then wiped it off, others I just "skipped" the brush lightly over the surface while it was filled with stain to create a little more variance. I love how it turned out! 


My beat up stairs got a good coat of stain.
Have to say I have a little crush on my stairs.
I think they are cute.
Yes, I'm not normal.
I know this.

Stairs before:


 This is the stain I used over everything, as well as my stairs:


Love the rustic look of the stairs up close:
It wasn't hard to make them look rustic, they've been through a lot in the last few months, no need to bang them up, the construction zone did that for me!


One last look at the floor:


Pretty busy I know, but it's just a little reflection of me!
I mean, why do something simple when you can make a lot of work for yourself and complicate things a whole bunch?! Besides, who can decide between just one finish when there is soooo many choices? Might as well do them all, RIGHT?

You know what they say:
"You can tell a lot about a person by the finish on their floors."

What?
No one's ever said that?

Well, maybe they should have.

Alright. Although the squares with Annie Sloan Chalk paint don't need to be sealed, the others definitely do, sooo...
I'm off to put a few good coats of sealer on it before I can say it's done! 

What do you think?
Not sure I'd do this in my house, but not bad for an art studio right?


Tuesday, March 13, 2012

Recycled wood floor...on the wall!

The studio is coming right along!! If you are new here..Welcome! If you aren't new you already know about my "barn-turned-studio" saga. After months and months and months and months... Okay, since last September-ish we have been working on the overhaul of this barn in my backyard...


I can hardly believe what a mess it was! Soo much work, but I loved it then, and I love it now!!


I've been busy working on the interior of the upper floor, which is my new studio!
I've been so excited to show you one of the projects I've been working on this week.
It all started with a visit to my favorite second hand remodeling store...
Habitat for Humanity's Restore

They had a big rack of miscelaneous odds and ends of different hardwoods and laminant flooring.
I had this idea, and I bought a bunch of it, and then had to go back and buy a bunch more because I loved it soo much and decided to do much more than I had planned on.
Most people would be buying flooring to put on the floor.
Not me.
Remember, I'm the weird one.

I started with a pile of mismatched tongue and groove slats.

This is just a small portion of the load I had.
So lucky to have some great kids around to help me load and unload all that wood!

Anyway, since each style of flooring had a different tongue and groove setup I had to get out the table saw and cut all of the "tongues" off. 
Yeah, it took a while.
Yes, it made a mess.
Yup, I didn't mind because thennnnn....
I got to use a nail gun and nail em all up to the walls...


 I love all the different woods together.
The boards are also different thicknesses, which means there is a little dimension to the wall,
Some boards stick out a little farther than others, and I like that!

They are a little dust right now, and generally a good blogger would have it all finished and staged cute, but I just had to show you! Besides, I've got to get busy on the floors before I can make things look super finished in there. Staging and "cute" will have to wait for now. I've got work to do. No cute here. Just me and dust and grubby clothes. No cute yet.

So there you have it. Just a quick post today.
Can't wait to show you my bathroom vanity.
I really mean I can't wait.
So here is just a teaser...
Yes, it involved power tools.
Yes, It included Annie Sloan Chalk Paint.
And Yes, it started at the Habitat for Humanity Restore.

What do you think of all my recycling?
Have you ever seen flooring used on walls before?
Sound like something you might want to try?
I'd love to hear what you think :)

Off to pop some paint lids and find my happy place!